Diferencia entre revisiones de «Temporada 3/primeros-pasos»
Sync corpus Hub De Vors |
Sync corpus Hub De Vors |
(Sin diferencias)
| |
Revisión actual - 16:01 1 sep 2026
Primeros pasos
GETTING STARTED Your first steps in Hub de Vors are critical — and thankfully, you’re not thrown in completely blind. equipo de Hub de Vors included a fantastic interactive tutorial, complete with a fully voice-acted, sass-filled dragon to guide you through th
GETTING STARTED
Your first steps in Hub de Vors are critical — and thankfully, you’re not thrown in completely blind. equipo de Hub de Vors included a fantastic interactive tutorial, complete with a fully voice-acted, sass-filled dragon to guide you through the basics. It’s a great way to get your bearings without feeling like a newborn giraffe dropped into chaos.
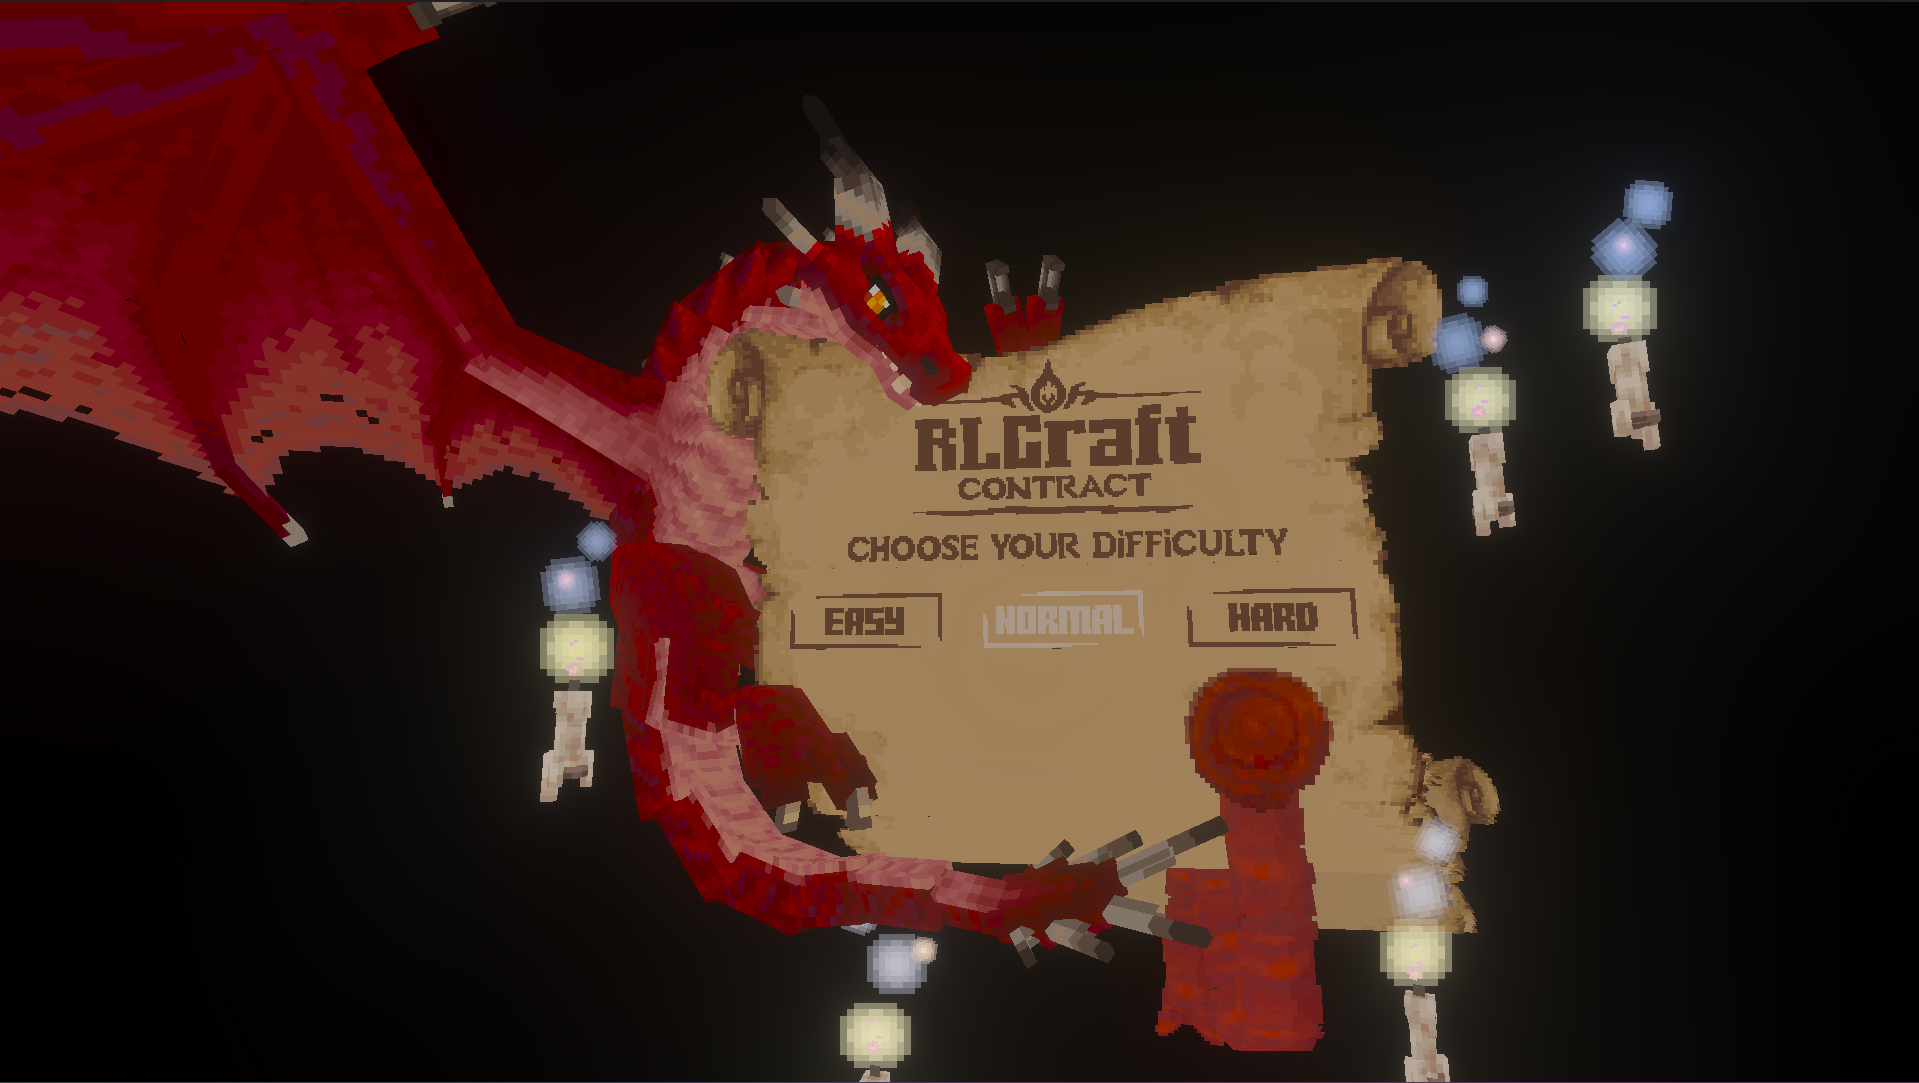
Right at the start, you’ll choose your difficulty: Easy, Medium, or Hard. Each one changes how punishing the world is so choose wisely. Once you load in, you’ll notice Hub de Vors comes with its own custom animations. While you can run other animation packs like Actions & Stuff, it’s a bit buggy. For the smoothest experience, it’s best to run Hub de Vors on its own or with minimal additions.
Once you load in, you’ll notice Hub de Vors comes with its own custom animations. While you can run other animation packs like Actions & Stuff, it’s a bit buggy. For the smoothest experience, it’s best to run Hub de Vors on its own or with minimal additions.
Now that you’ve landed with your super cool hero pose, let’s talk about what you need to do to survive your first day.
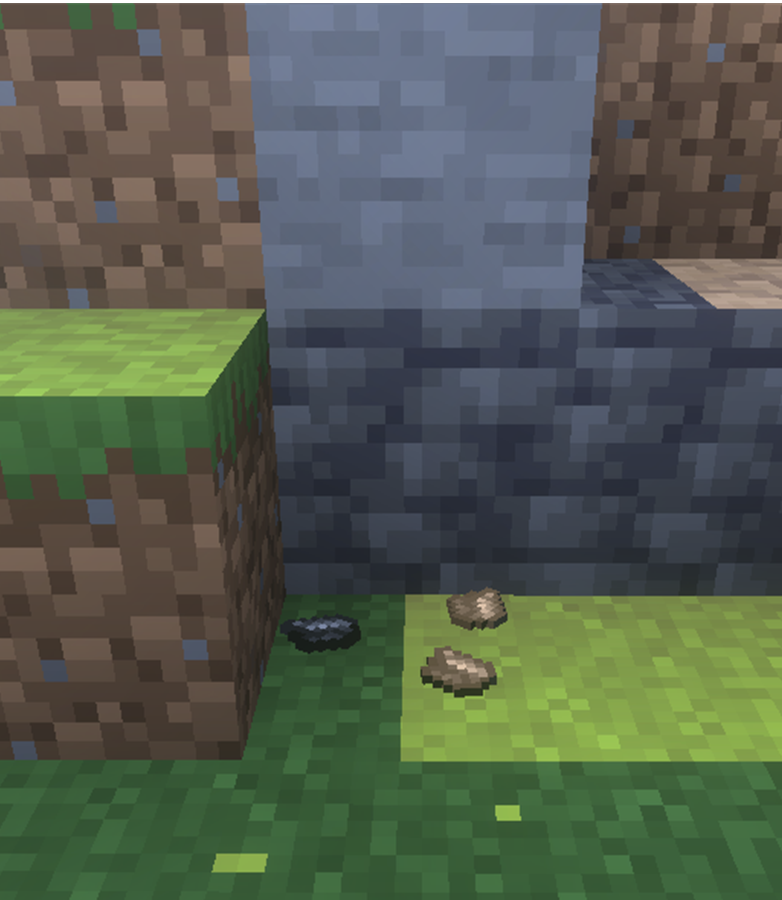
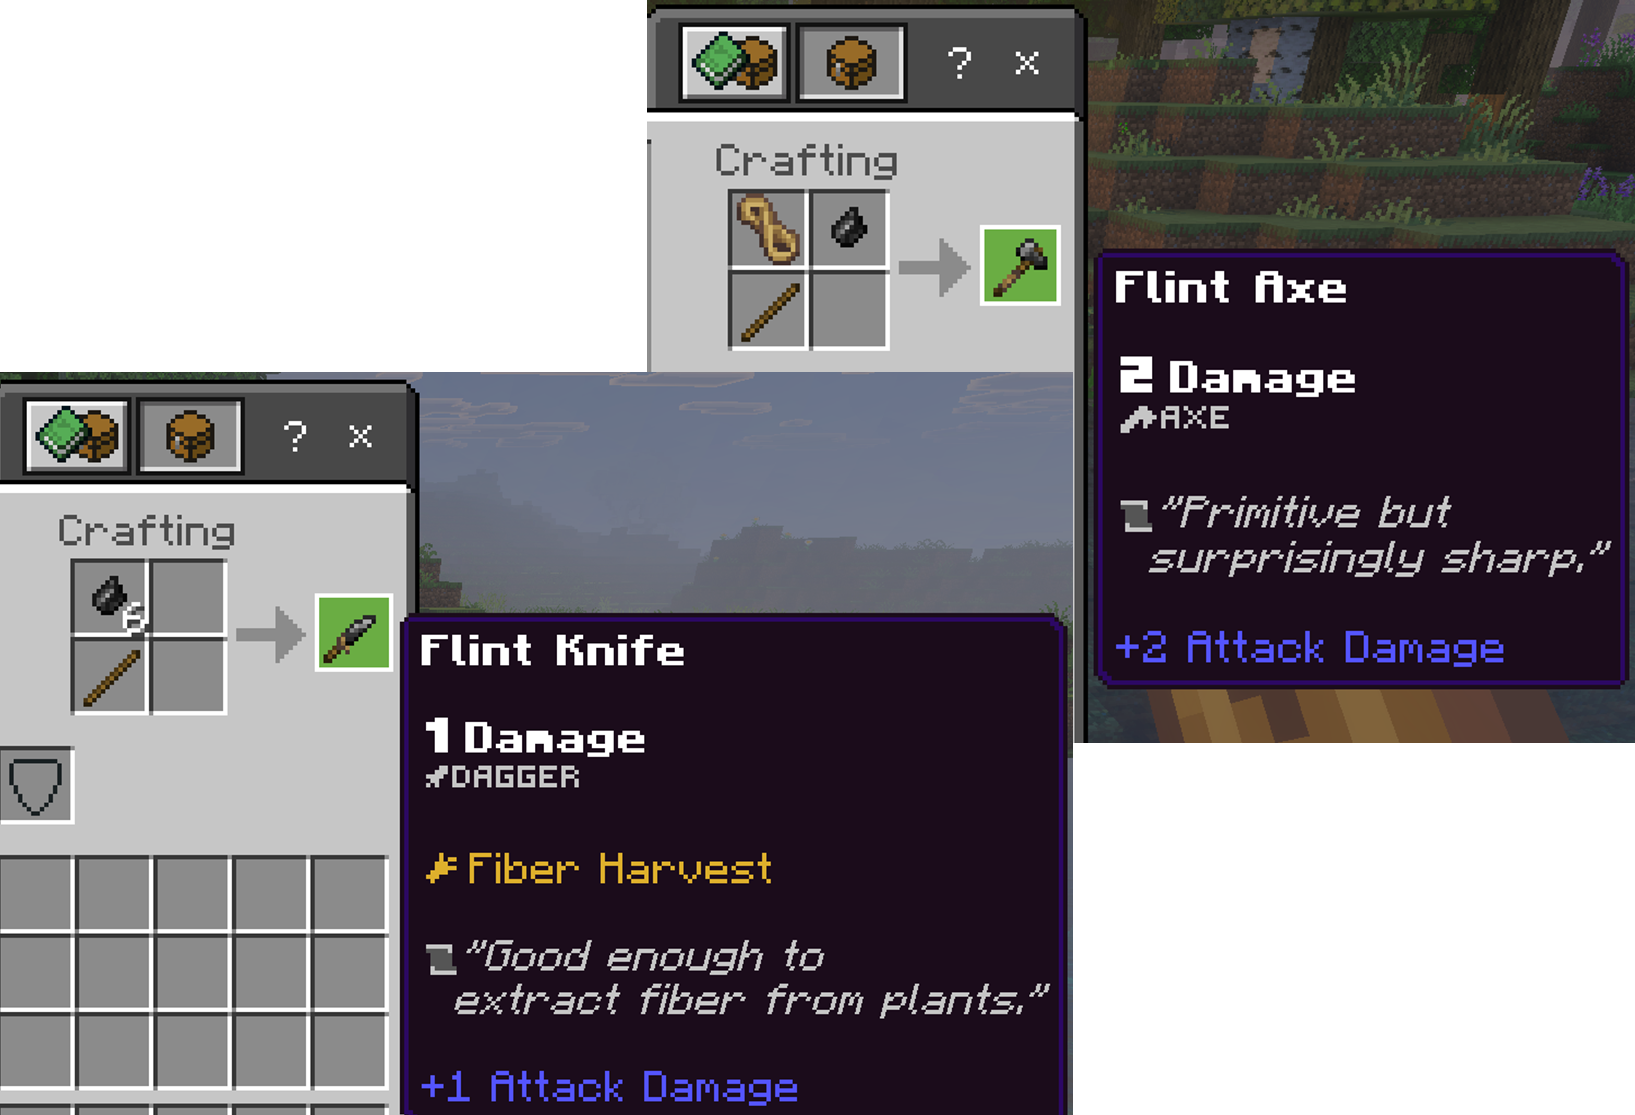
- 1. Find and break gravel to get flint.
- 2. Take said flint and throw it against stone to break it into fragments.
- 3. Break leaves to make sticks
- 4. Craft a Flint Dagger
- 5. Break grass to collect Plant Fiber
- 6. Craft a Flint Hatchet → chop trees for wood.
This early progression is your lifeline. Flint tools are your first real breakthrough — they let you gather wood, and wood tools open the door to crafting, shelter, and basic defense. But don’t get comfortable. You can’t even use those wooden tools until you’ve leveled up your skills. That’s right. Just having the gear isn’t enough. You’ll need to earn the right to wield it. And that means grinding XP, leveling up, and staying alive long enough to make it count.
SKILL TREE SYSTEM
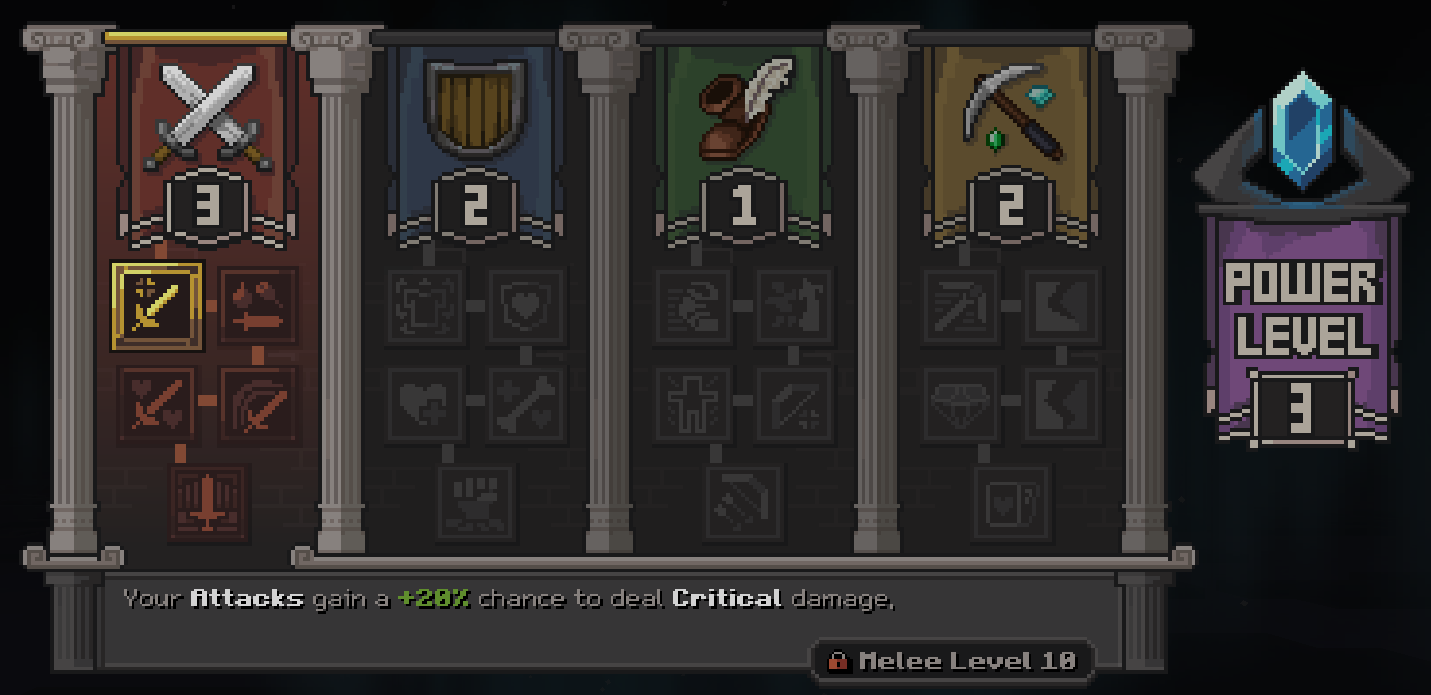
Hub de Vors: Temporada 3 features a simplified but powerful Skill Tree. You’ll need to level up to unlock better gear and abilities.
UI breakdown:
Melee → for attack
Armor → for defense
Agility → for ranged weapons and movement
Mining → for tool access and resource gathering
Here’s how it works: each skill level requires a full XP level in order to upgrade. So, if your Defense is at level 2, you’ll need to reach 3 levels of XP before you can allocate a point to upgrade it to level 3. No shortcuts, just grind and survive.
Each one of these skill trees will grant different bonuses. From gaining speed, to having increased health, to gaining the enchantment infinity for all your bows. As you level each category you will unlock more and more bonuses.
You'll also see your "Power Level" off to the right side of the screen. This is the overall power level of your equipped gear and trinkets. The better tier your gear is and rarer your items, the higher this level goes.
THIRST & SURVIVAL MECHANICS
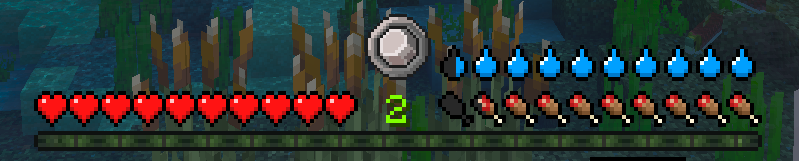
Now most players are used to managing hunger but in Hub de Vors, that’s just the beginning. You’ll also need to watch your thirst and temperature, both of which can kill you just as fast as any mob.
Thirst is very straight forward. Unlike the Java version, there’s no purification system here. You can drink straight from any water source.
Edit: Update 1.2 removed the ability to stand in water to replenish your thirst bar. Better get your hands on one of those Canteens!
Temperature is one of Hub de Vors’s many dangers and it can kill you very quickly. If you get too cold, you’ll start taking damage. Too hot? Same deal. Deserts, snowy biomes, and even deep caves can mess with your body temperature, and in some areas, it’s nearly impossible to stay balanced without the right gear or items.
And don’t even think about walking into the Nether unprepared — unless...you’ve found some Frostberry Bush or Emberfruit Bush . Frostberries, which look like blue sweet berries, grow in cold and forested biomes. They can be planted and harvested to collect more, but eating one gives you Heat Resistance I. Emberfruit, looks like tiny peppers and works the same way but are found in warm or desert biomes. These grant Frost Resistance I.
All of this is happening while you’re dodging mobs, managing hunger, and grinding XP just to use basic tools. That’s why building a shelter early is key. Even a dirt hut can save your life. Get a roof over your head, stash your loot, and give yourself a safe place to breathe. You’ll thank yourself later.
BODY PART DAMAGE SYSTEM
Hub de Vors adds a brutal twist to the health system. You don’t just have hearts anymore —
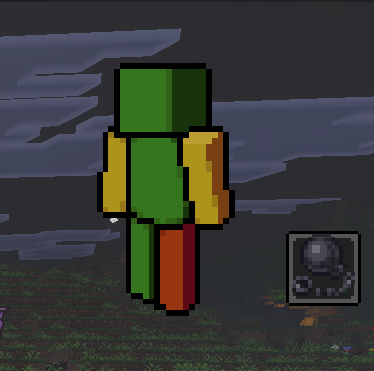
the game also tracks damage to individual body parts. Break your legs, you'll move slower. Take a hit to the head, you go blind. Injure your arms? Say goodbye to swinging your sword or mining efficiently. You’ll need to craft healing items, or find special items to recover your health above and beyond just making sure you have food to eat. It’s a system that makes every injury feel dangerous — and every fight that much riskier.
CUSTOM MOBS & DUNGEONS
Speaking of which, let’s talk about the mobs. These aren’t your average zombies and skeletons. equipo de Hub de Vors has created a terrifying lineup of custom creatures. Some fly, some burrow, some explode—and 99% of them are aggressive or will attack you if you look at them the wrong way. You’ll need to learn their patterns, avoid unnecessary fights, and gear up before taking them on.
As you gain levels and experience, so do the mobs you will encounter. World Jefes will begin to spawn as you progress, each with a new terrifying set of moves and abilities you can either face for better loot or run away from until you are better prepared.
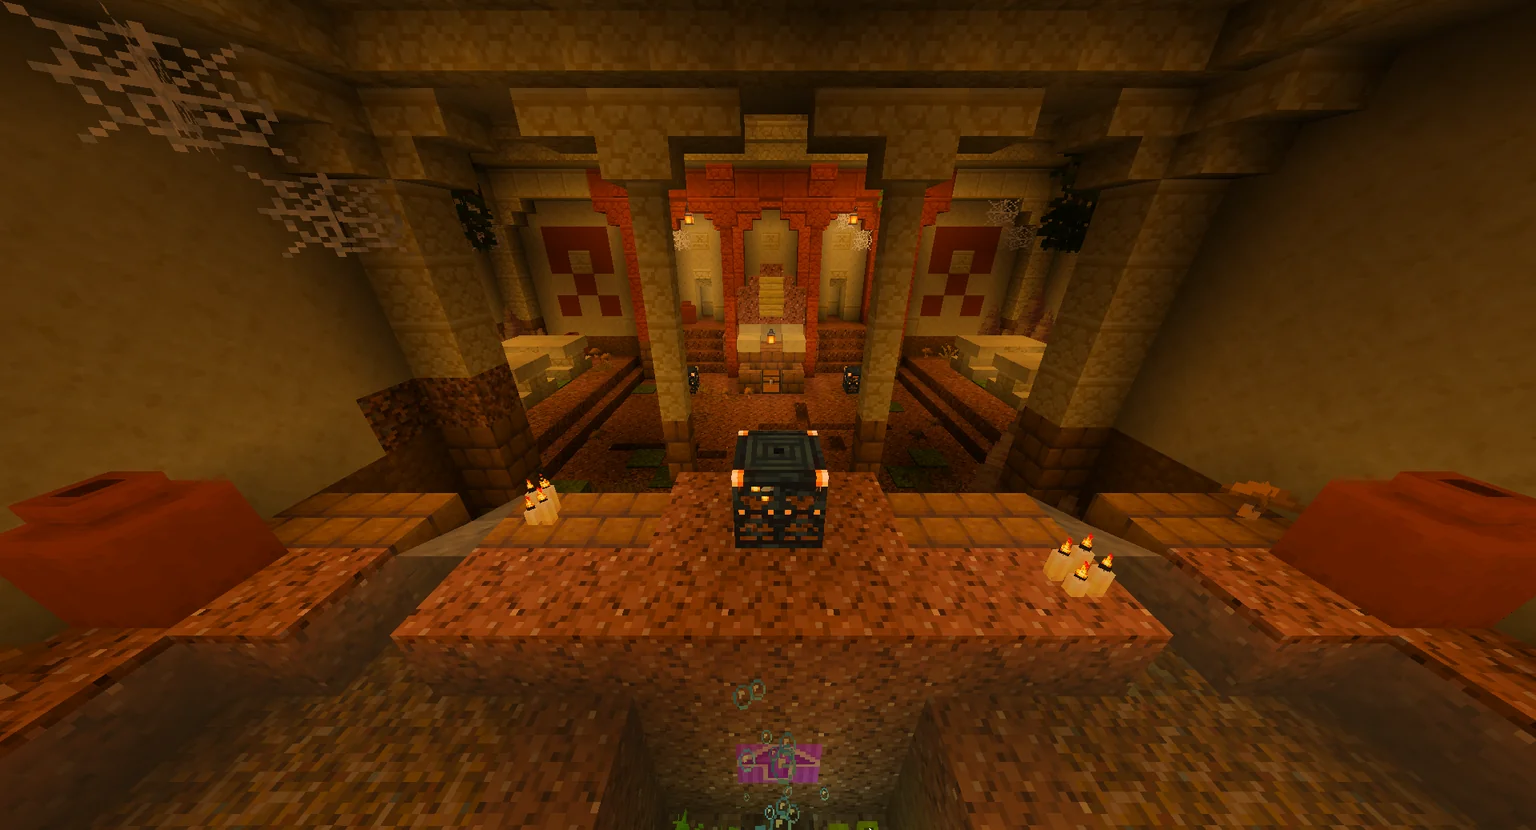
Exploration in Hub de Vors is thrilling but perilous. Scattered across the world are Pirate Ships, ancient Ruins, towering Battle Towers, and sprawling Castle Dungeons. These locations are packed with valuable loot, but they’re fiercely guarded by deadly mobs and sometimes even massive bosses that protect the final treasure.
equipo de Hub de Vors took inspiration from Minecraft’s trial chambers, adding a unique twist: mob spawners reset on a timer. So even if you clear out an area and decide to return later, don’t expect it to stay safe. You’ll need to fight your way through again. These challenges are absolutely worth the risk for the rewards but make no mistake some of these locations not for the faint of heart.
NPC TRADERS, COINS, & WAYSTONES
Not all entities in Hub de Vors are hostile though. Some are actually super helpful — especially the NPC's that trade. Early on, keep an eye out for friendly NPC's who accept coins in exchange for useful items. Coins come in three types: Copper Coin, Silver Coin, and Gold Coin . You can find them as mob drops, in chests, or in small pots around some of the structures. You can combine lower-tier coins into higher ones. Most of if not all these special traders will be found in some type of structure. Whether that be a small hut near the beach, or a house in the forest.
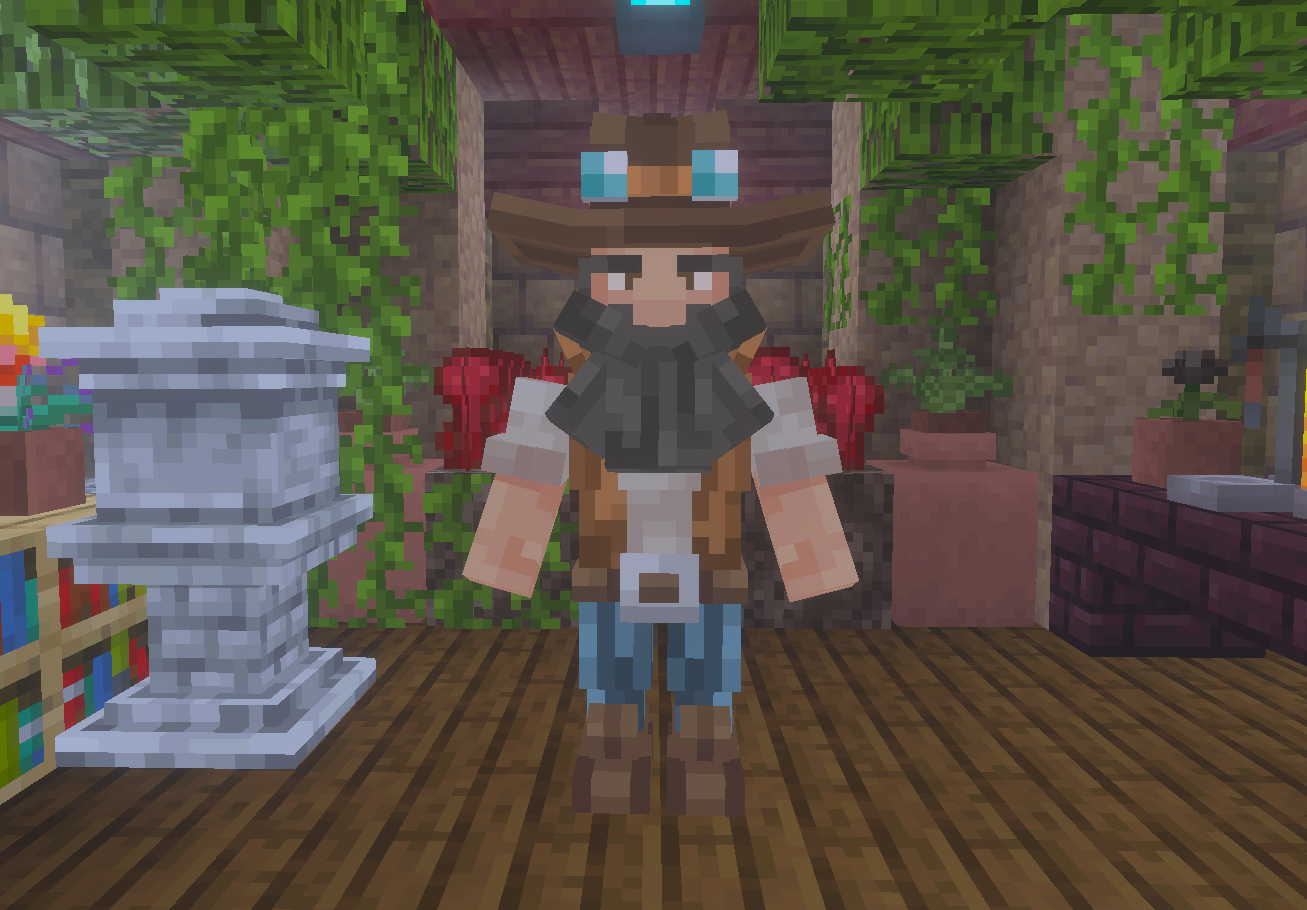
Somewhere inside or around the structure you can also find a Warpstone . These can be used to mark certain locations and fast travel back and forth between stones.
THE TRINKET SYSTEM
One of the coolest features in the Bedrock port is the Trinket System — passive items that give you powerful bonuses just by equipping them. You’ll find trinkets by looting chests, crafting, or dropped by mobs. Some boost your health, others give resistances, and some even negate temperature effects. Choose wisely though — you only have a fixed amount of slots. 3 Medallions and 3 rings.
Some of these are easier to get early on like the Goat Horns which lowers the effects of mining fatigue and the Greatest Shield which can be crafted with 25 iron and a shield. This will give you additional health.
You can even go a step further and combine the two into the Great Horn Shield which grants you +4 hearts, negates all knockback, and gives you a resistance to mining fatigue.
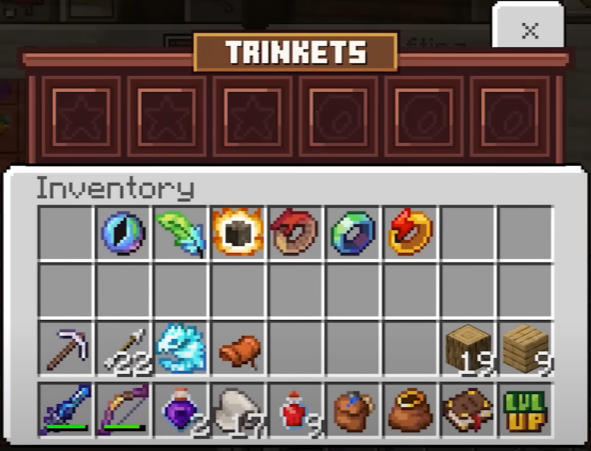
In addition to the Great Horn Shield , keep your eyes out for Wither Bones . These drop after defeating some of the more challenging skeleton-like mini bosses and are sometimes found in small pots. Combining 3 of these bones, 2 Power Shard , and 1 gold ingot will make the Withering Necklace which grants all of your attacks wither aspect 1!